
How to Write Blog Posts Faster Without Losing Quality
Learn how to write blog posts faster using a proven system. Get actionable tips on planning, AI-assisted drafting, and efficient editing to boost your output.
Writing faster isn't about sacrificing quality. Not at all. It’s about building a smarter, more repeatable system.
The secret to churning out great blog posts without spending all week on them comes down to three things: strategic pre-writing, streamlined drafting, and systemized editing. By front-loading the planning and breaking the process into distinct stages, you eliminate the friction that turns a two-hour task into an all-day slog.
The Modern Blogger's Dilemma: Speed Versus Performance
Every content creator feels the squeeze. On one hand, you have to publish consistently to stay relevant and keep the SEO gods happy. On the other, the data is crystal clear: longer, more in-depth articles are the ones that actually perform.
So how do you produce high-quality, long-form content without it becoming your entire job?
The answer isn't just typing faster. It’s about completely overhauling your workflow to find efficiencies at every single step.
Why Quality and Speed Seem at Odds
The tension here is real, and the numbers back it up. The average time it takes to write a blog post has ballooned to around four hours. Bloggers are now spending 67% more time on their content than they did a decade ago because they know that depth gets results.
And yet, only a sliver—about 14% of bloggers—are consistently creating the 2,000+ word monsters that have the best shot at strong SEO performance. You can dig into more of these trends in this great roundup of blogging statistics and their impact on content strategy.
Here's where the paradox really hits home. While search engines reward comprehensive content, the average reader spends just 52 seconds on a post. That forces a huge shift in how we think. The goal isn't just to write a long article quickly; it's to create a well-structured, scannable piece that delivers massive value in under a minute.
The fastest writers I know aren't necessarily the best typists. They are the best planners. They've built a system that kills decision fatigue and keeps the momentum going from outline to hitting "publish."
This guide is designed to give you that exact system. We’ll go beyond generic advice like “just write” and lay out a practical, step-by-step workflow you can steal.
You’ll learn to master:
- Strategic Pre-Writing: How to build a comprehensive blueprint before writing a single sentence, cutting your actual drafting time in half.
- Streamlined Drafting: Techniques to get your ideas onto the page fast, embracing a "good enough" first draft to maintain flow.
- Systemized Editing: A multi-pass editing process that polishes your work efficiently without getting you stuck in the weeds.
To get you up to speed quickly, here's a look at the core strategies we'll be covering.
The Three Pillars of Faster Blogging
| Pillar | Core Activity | Time Saved |
|---|---|---|
| Pre-Writing | Building a detailed outline and gathering all research before you start. | Eliminates writer's block and cuts drafting time by 50% or more. |
| Drafting | Using time-boxed writing sessions and "drafting hacks" to get words on the page without self-editing. | Turns a 4-hour writing slog into a focused 90-minute sprint. |
| Editing | Using a structured, multi-pass checklist to separate proofreading from structural edits. | Prevents endless tweaking and ensures a polished final product, faster. |
By focusing on these three areas, you create an assembly line for your content, where each stage flows logically into the next.
The flowchart below visualizes the entire process we're going to build throughout this guide. Think of it as your new roadmap.
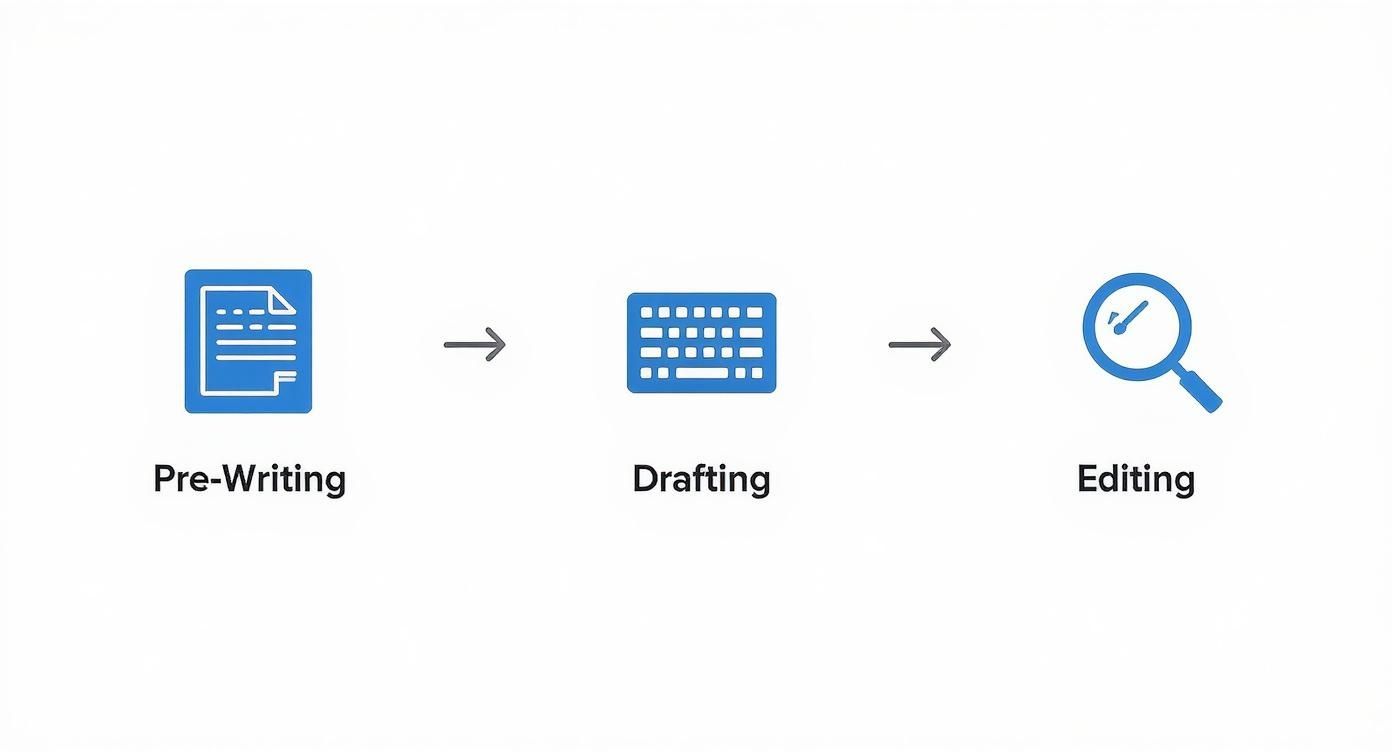
Each of these stages—Pre-Writing, Drafting, and Editing—builds on the last one. Master this workflow, and you'll finally be able to resolve that constant conflict between speed and performance.
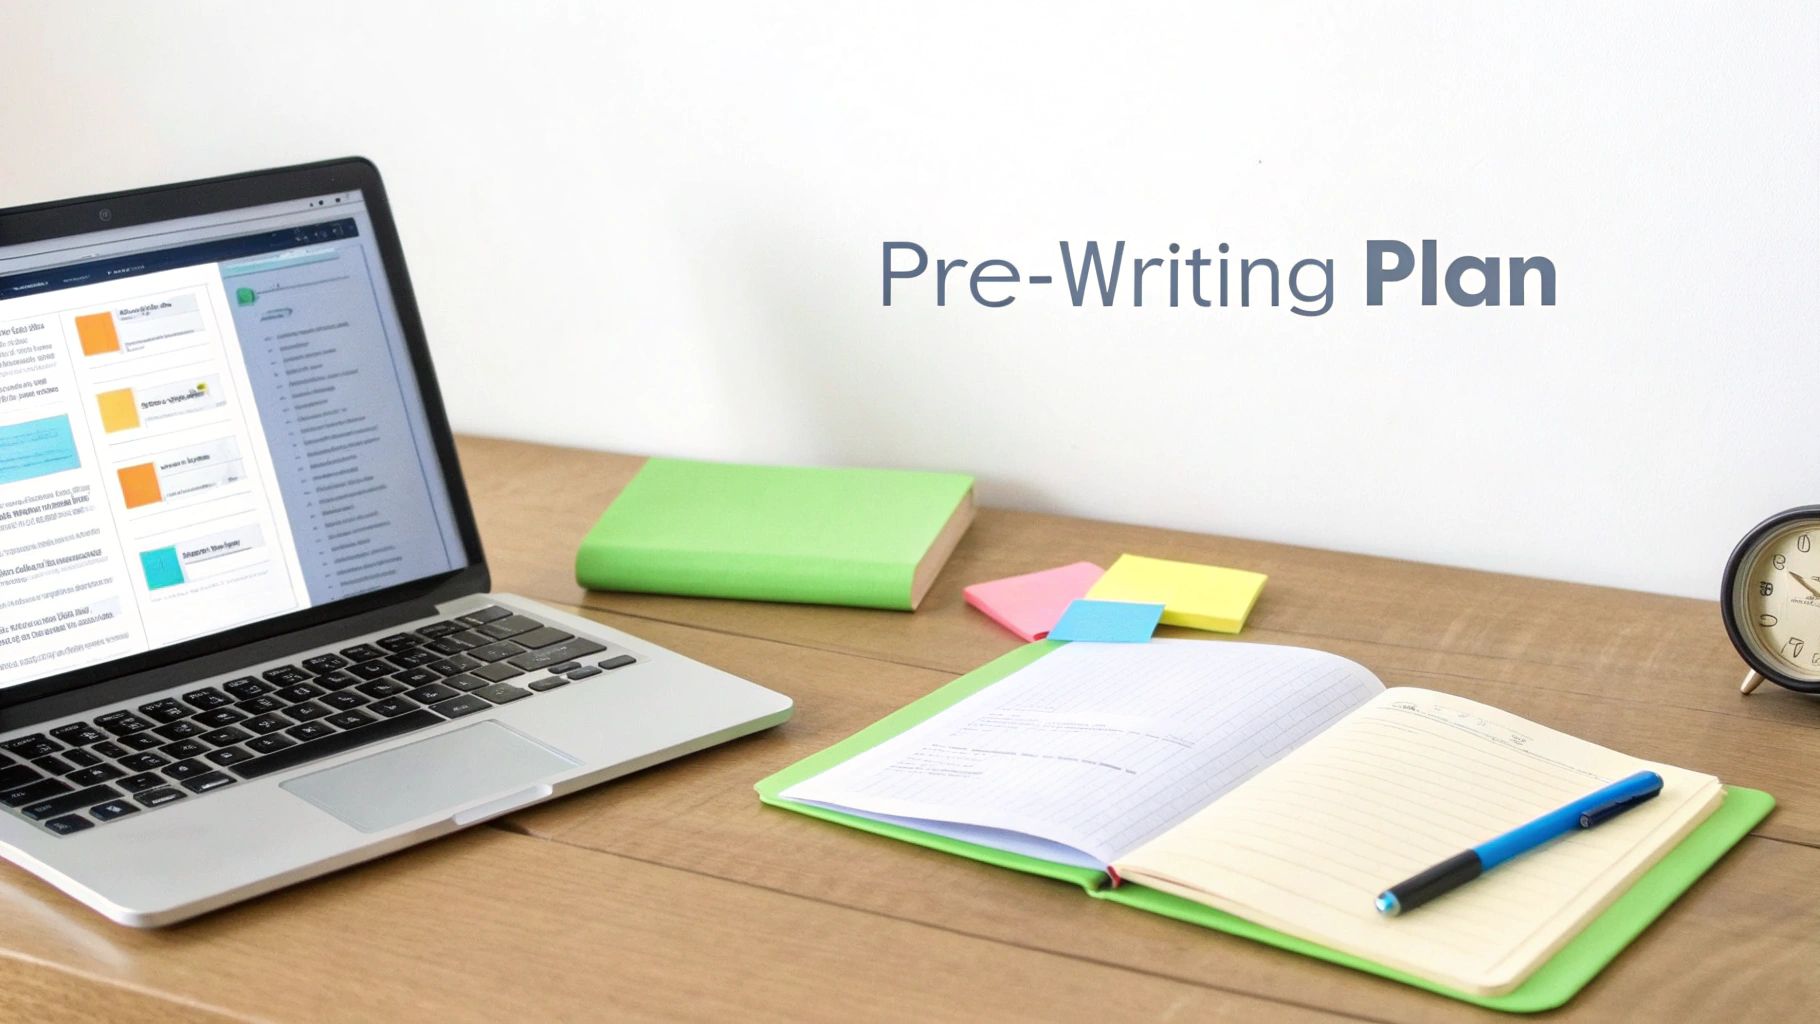
Master Your Pre-Writing Blueprint for Speed
The fastest writers I know aren't just fast typists. They're smart planners. The real secret to churning out great content quickly has almost nothing to do with the actual writing part; it's all in the prep work.
Think of it like a chef preparing for dinner service. Everything is chopped, measured, and laid out before the first pan even gets hot. This is mise en place. For writers, our mise en place is the pre-writing blueprint. A little time spent here pays off big, killing that dreaded stop-and-start friction that destroys momentum.
Conduct Rapid SERP Research
Before you dream of writing a single sentence, your very first move should be a quick trip to the Google search results page (SERP). Type in your main keyword and give yourself 10-15 minutes to see what's already ranking. This isn't about stealing ideas. It's about understanding the conversation you're about to enter.
Keep an eye out for these patterns:
- Common Subheadings: What are the non-negotiable topics the top articles all seem to cover? This gives you a baseline for meeting what searchers expect.
- Content Formats: Are the top results mostly listicles? How-to guides? In-depth case studies? This clues you in on the format that’s already winning for this particular topic.
- 'People Also Ask' (PAA) Box: This little box is a goldmine. These are the literal questions your audience is typing into Google. Weave these into your outline, and you're practically guaranteed to create a comprehensive resource.
For example, a quick search for "how to write blog posts faster" immediately shows that themes like templates, AI, and outlining are critical to include.
Just from this quick peek, you already have a skeleton for your post and a checklist of must-have talking points.
Use the Reverse Outlining Technique
Most people make the mistake of building an outline from top to bottom, starting with a vague idea for an intro. A far faster and more effective method is reverse outlining.
You start with the end in mind. What's the one thing you want your reader to do or understand after reading your post? That’s your conclusion and call-to-action. Then, you work backward, building out the main points that logically lead them to that conclusion.
This forces every section to earn its place and support your core argument. Your writing stays tight and focused, which means you won't have to slash entire paragraphs of rambling tangents later. A focused outline also helps you manage your content's length. As you're planning, it's helpful to visualize your sections and get a feel for how long is 500 words so you can structure your post effectively.
An outline is more than a list of headings. It's a promise to your reader about the value you're going to deliver. Fulfilling that promise efficiently starts with a clear, logical structure.
Create Your Blog Post Outline Template
Once you've done your research and nailed down your core argument, it's time to plug it all into a repeatable template. This is the ultimate weapon against decision fatigue. You're not reinventing the wheel every time; you're just filling in the blanks.
Here's a simple but incredibly powerful template you can steal and adapt:
- Working Title: A rough headline that captures the main benefit.
- Hook: The first one or two sentences. What's the surprising fact, relatable problem, or bold statement that will make them stop scrolling?
- Introduction: State the problem, then promise the solution. Tell them exactly what they'll get from reading.
- Main Point 1 (H2):
- Key data point or piece of evidence.
- A short anecdote or real-world example.
- The main takeaway for this section.
- Main Point 2 (H2):
- Key data point or piece of evidence.
- A short anecdote or real-world example.
- The main takeaway for this section.
- Main Point 3 (H2):
- Key data point or piece of evidence.
- A short anecdote or real-world example.
- The main takeaway for this section.
- Conclusion: Quickly summarize the main points and clearly restate the solution you promised.
- Call to Action (CTA): What is the very next thing the reader should do?
When you have all your research, headings, and key points organized in one place before you start writing, the whole process shifts. Drafting is no longer a wrestling match with a blank page. It becomes a simple game of connecting the dots.
With your blueprint locked in, it’s time to actually write. And this is where so many people get stuck. The single biggest mistake I see writers make is trying to edit while they write. This constant self-correction absolutely kills momentum, turning a simple task into a draining marathon.
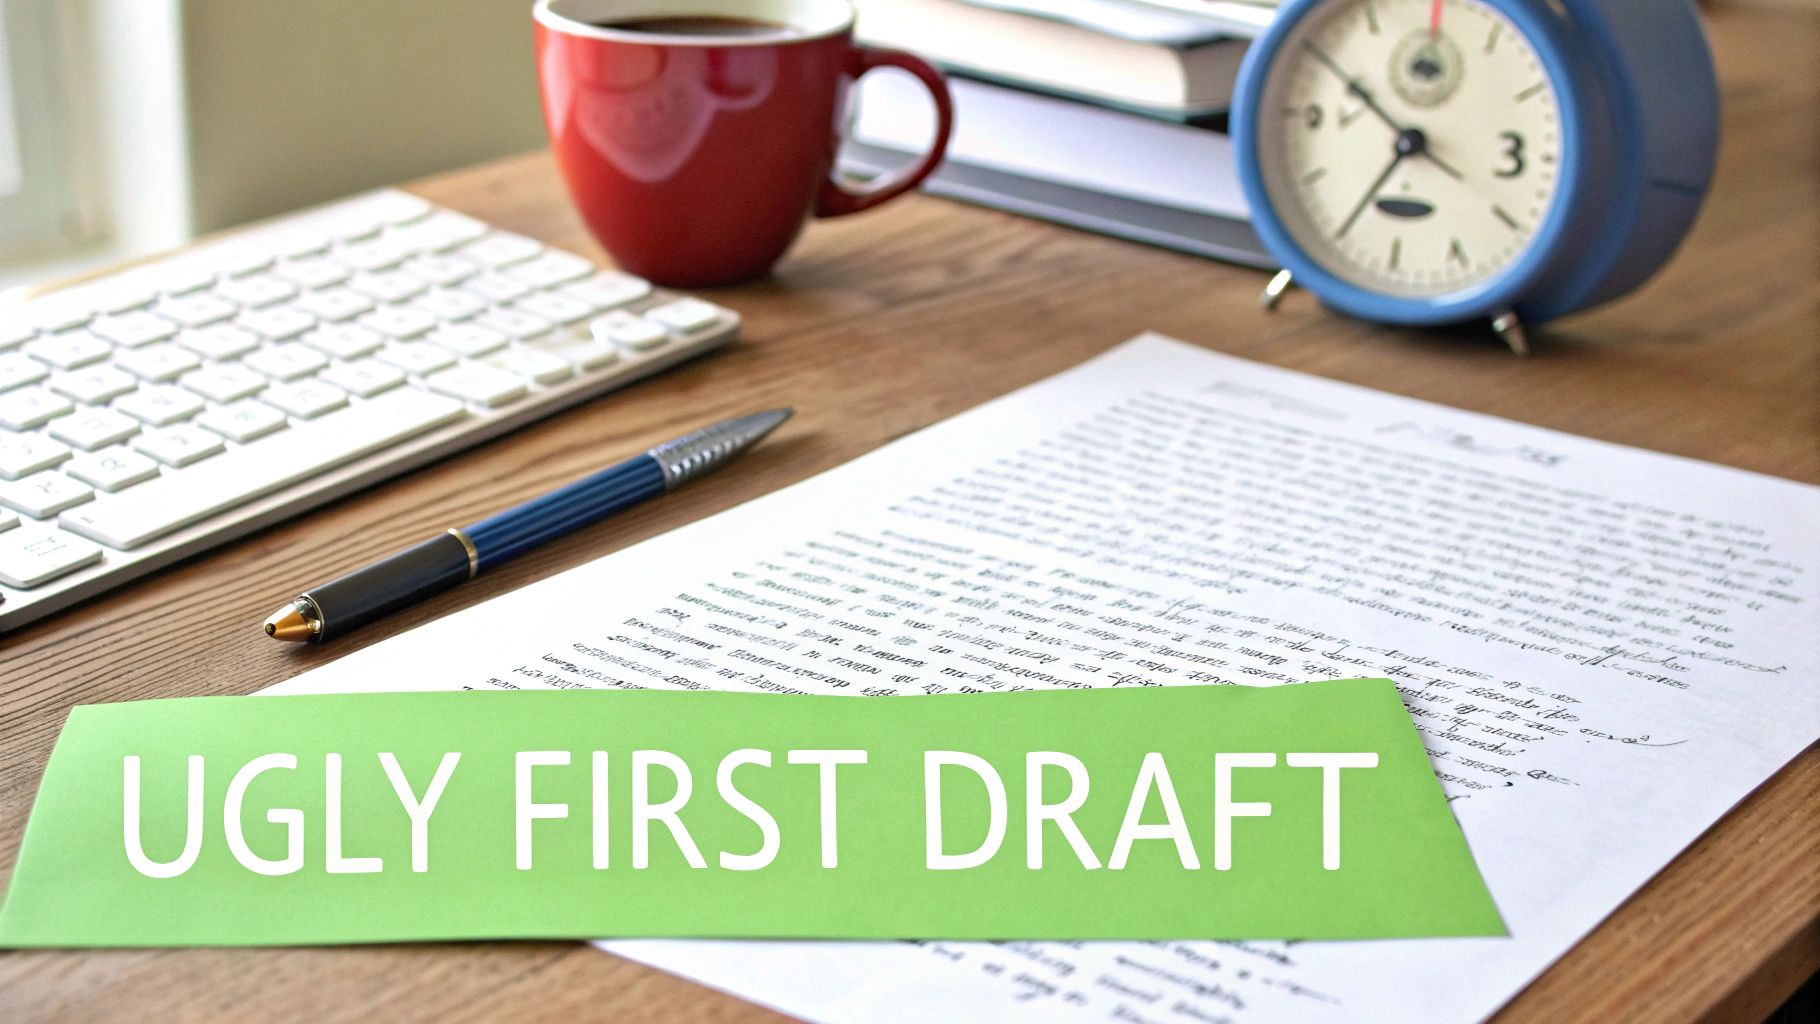
The solution? Get comfortable with the ugly first draft.
Its only job is to get your ideas from your outline onto the screen. Fast. This isn't about crafting perfect sentences; it's about pure, uninhibited forward motion. Don't worry about grammar, spelling, or finding that perfect word. Just get it down.
Use Time-Boxing to Maintain Focus
To make the ugly first draft method really work, you need a little structure. My go-to strategy is time-boxing, where you dedicate a specific, uninterrupted block of time to one single task. No emails, no social media, just writing.
The Pomodoro Technique is a fantastic way to implement this:
- Set a timer for 25 minutes. This is one "Pomodoro."
- Write without stopping. Your only job is to follow your outline and get words on the page. Resist the urge to edit or check your phone. Just go.
- Take a short 5-minute break. When the timer rings, get up. Stretch, grab some water, and reset your brain.
- Repeat, then take a longer break. After four Pomodoros, give yourself a proper rest of 15-30 minutes.
This turns writing into a series of manageable sprints instead of an endless slog. It forces you to concentrate and prevents burnout. You’d be amazed at what you can accomplish. Many writers find they can easily get down over 1,000 raw words in just two or three of these focused sessions.
Your goal during drafting is not to create a masterpiece. It's to create something you can edit into a masterpiece later. A blank page is un-editable. An ugly draft is full of potential.
Use AI as Your Drafting Co-Pilot
Even with a solid outline, writer's block can creep in. This is where an AI assistant becomes a game-changer for anyone learning how to write blog posts faster. The trick is to treat it as a co-pilot, not an autopilot. You’re using it for raw material, not the final product.
Instead of asking a generic question, feed it specific, structured prompts based on the outline you already built.
- To flesh out sub-points: "I'm writing a section about [your topic]. My outline point is '[your point]'. Give me three supporting arguments or real-world examples I can use."
- To kickstart a section: "Draft a short, intro paragraph for a blog section called '[Your H2]'. The tone should be informative and conversational. The main idea is to explain [your core concept]."
- To break through a block: "Give me three different ways to phrase this clunky sentence to make it more engaging: '[Your clunky sentence]'."
Using AI this way is like getting a lump of clay to mold. You get the initial structure and ideas on the page in seconds, freeing you up to spend your valuable time refining the message, adding your unique voice, and injecting those crucial personal stories. This blend of human insight and AI speed is a powerful formula for accelerating your entire content workflow.
You’ve got your ugly first draft. Congratulations. It's probably a bit of a mess, maybe has some typos, and that's exactly what you want. It means you chose momentum over perfection. Now it's time to shape that raw material into something polished and professional without getting sucked into a black hole of endless revisions.
So, how do you edit fast without sacrificing quality? The secret is a multi-pass system. Instead of trying to fix everything at once—grammar, flow, word choice, spelling—you tackle specific issues in separate, focused sweeps. This stops you from wasting time proofreading a paragraph you might end up deleting five minutes later.
The Three-Pass Editing System
This approach turns editing from a chaotic chore into a streamlined process. Each pass has one clear mission.
- The Structural Edit: First, zoom way out. Read through your draft with a 30,000-foot view. Does the argument actually make sense? Is the flow logical? Are your best points buried halfway down the page? Don't be shy about moving entire sections around to create a bigger impact. This is where you fix the big-picture problems.
- The Clarity & Style Edit: Now, zoom in to the sentence level. Is every sentence crisp and clear? Can you swap out weak words for stronger, more active ones? This pass is all about refining your voice and making sure your writing is engaging and dead simple to follow.
- The Proofreading Pass: This is the final, mechanical check. My favorite trick is to read the article out loud or use a text-to-speech tool. Your ears will catch awkward phrasing and typos your eyes skim right over. You're hunting for spelling mistakes, grammar errors, and wonky formatting—that’s it.
By splitting these jobs up, you edit your content faster and more effectively. It’s a system that guarantees a higher quality result every single time.
A great writer doesn't just write; they rewrite. But a fast writer knows how to rewrite systematically, focusing on one layer of improvement at a time to avoid spinning their wheels.
Humanize Your AI-Assisted Drafts
If you used an AI tool to help with the first draft, you’ve got a solid foundation. But let's be honest, it probably lacks the personality and unique perspective that makes a reader connect with your work. That’s why the final, most crucial step is to "humanize" that text.
AI-generated content often sounds generic, a bit robotic, and can get flagged by detection tools. The goal here is to inject your authentic voice, add personal anecdotes, and tweak the phrasing until it sounds like it came from you, not a machine. This is non-negotiable for building trust and authority with your audience.
You can do this the old-fashioned way by rewriting sentences and weaving in personal stories. Or, you can use a specialized tool to speed things up. A tool like HumanText.pro, for instance, is built specifically to revise AI text so it sounds more natural and bypasses detection.
This final touch ensures your content feels authentic while keeping the core message intact. You can find more practical advice in our guide that explains how to humanize AI-generated text and make it truly your own. It’s what turns a good draft into a great one.
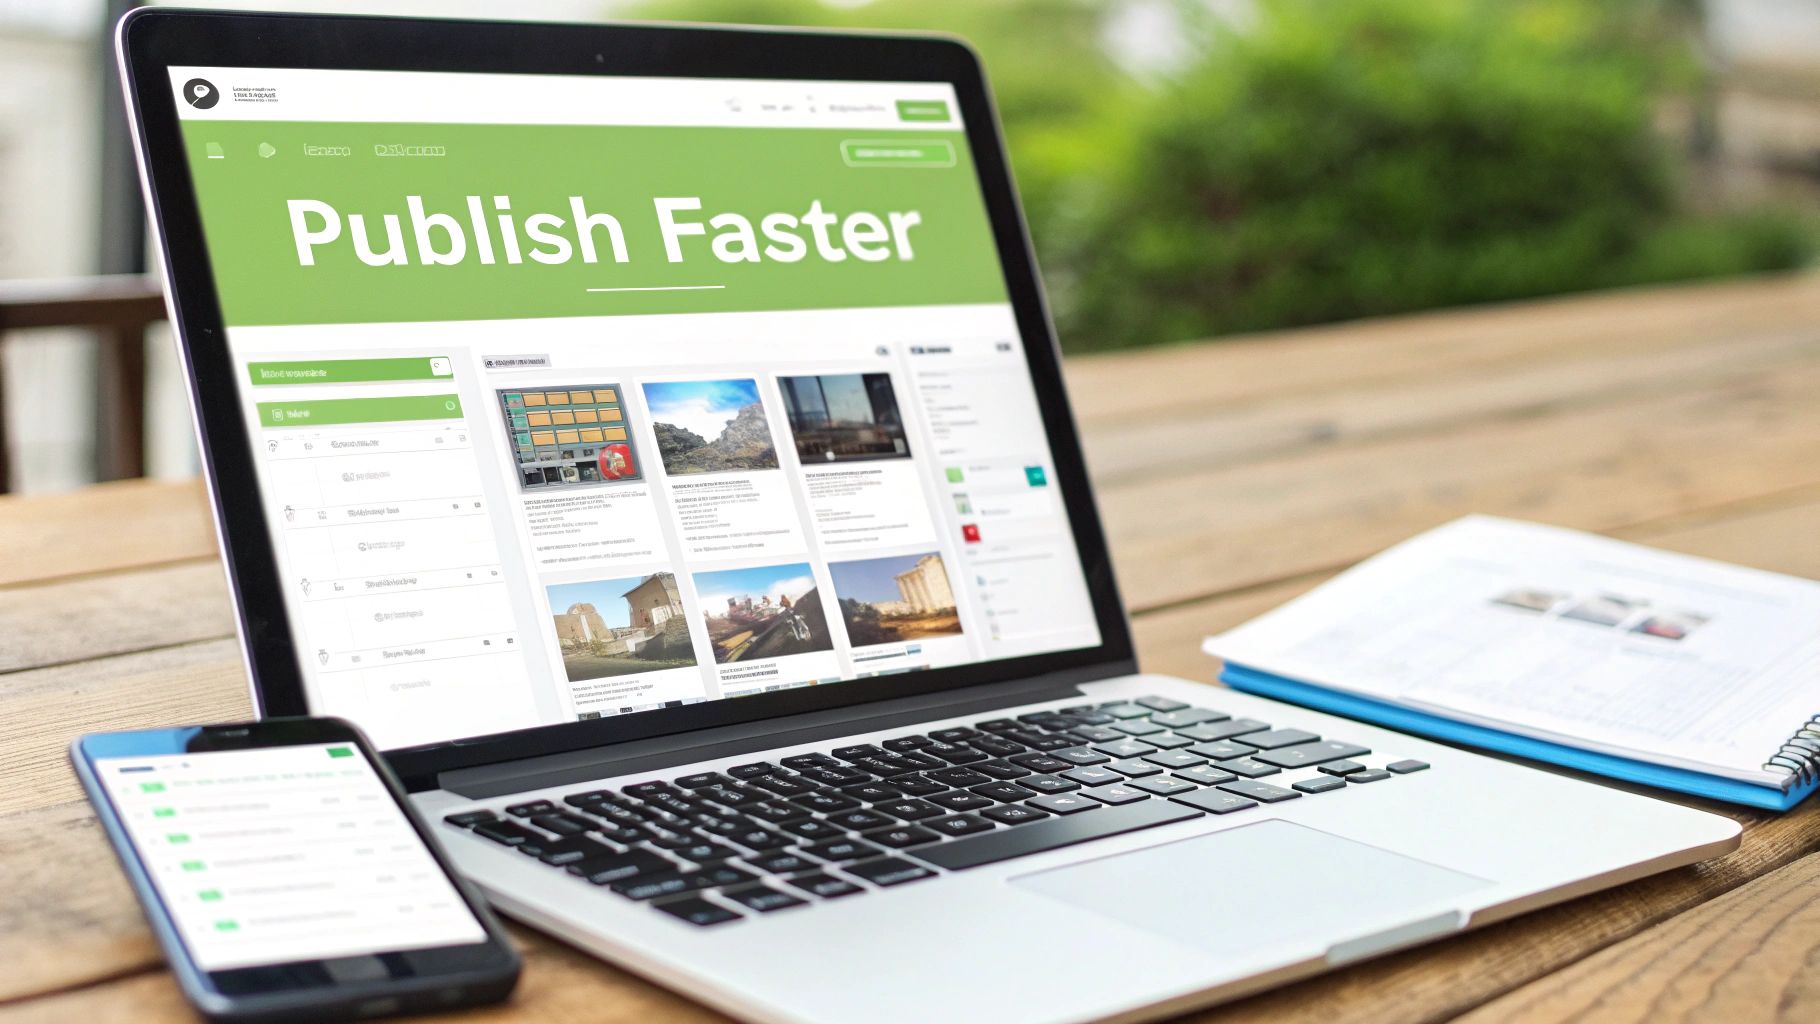
Use Publishing Hacks to Shave Off Hours
Your work isn't done when you polish that last sentence. The final stretch—uploading, formatting, optimizing for SEO—can be a frustrating time-sink that quietly eats an hour or more of your day. But smart bloggers know this last mile is the perfect place to build an assembly line.
The whole point is to turn this unpredictable chore into a quick, repeatable process. Once you systemize these final steps, you can slash your publishing time from a meandering hour down to a focused 15-minute sprint.
Create Reusable CMS Templates
Stop rebuilding the structure of every single post from scratch. It’s a massive waste of time. Most content management systems (CMS) like WordPress have features that let you create or save post templates. Use them.
Set up a couple of standard layouts for your most common formats, like "how-to guide" or "listicle." Your template can have pre-formatted sections already waiting for you:
- An intro block with some placeholder text.
- Styled blockquote sections ready for a key takeaway.
- A pre-designed call-to-action (CTA) box at the end.
This simple hack eliminates dozens of repetitive clicks for every article you publish. You just drop in your content and you're practically done.
Batch Your Visuals and SEO
Two of the biggest time-wasters during publishing are creating images and finalizing all the little SEO details. Instead of handling these tasks one by one as you go, batch them.
Carve out a block of time each week to create all your featured images and social graphics using a tool like Canva. It’s so much faster to stay in one tool and knock them all out at once.
The same principle applies to search optimization. SEO plugins like Yoast or Rank Math make this incredibly fast. Once your text is in the CMS, just run through the plugin’s checklist:
- Finalize your meta description.
- Confirm the URL slug is clean and keyword-rich.
- Drop in a few relevant internal links.
Think of publishing not as a creative task, but as a mechanical one. Your mission is to build a checklist-driven system that requires zero creative energy, allowing you to hit 'publish' with predictable speed and accuracy.
A pre-publish checklist ensures nothing gets missed. It might sound like an extra step, but it actually speeds you up by removing the mental load of remembering every little detail. For more on optimizing your workflow before you even get to your CMS, check out our guide on the best Google Docs word count shortcut. Trust me, this one habit can save precious minutes.
Answering Your Questions About Writing Faster
Even with the best system, changing up your writing habits is going to bring up some questions. Let's tackle a few common ones I hear from creators who are trying to speed up their workflow.
Will Writing Faster Hurt My Content Quality?
Not if you do it right. This isn't about rushing the creative parts; it’s about putting a system around the mechanical parts.
When you dedicate specific, focused time blocks to outlining, then drafting, then editing, you actually give each stage more attention, not less. The result is often a much more polished final piece. The real magic happens when you stop editing while you write. Your ideas flow more freely, leading to a more authentic and powerful first draft than one that was constantly second-guessed.
How Long Should It Take To Write a Blog Post?
This can vary wildly, but a great target for a well-researched, 1,500-word article is somewhere around three to four hours, from the initial idea to hitting "publish." That’s a huge improvement over the six or seven hours many bloggers get stuck on.
Here’s what that could look like using the methods we've talked about:
- Research & Outline: 45 minutes
- Drafting (The "Ugly First Draft"): 90 minutes
- Editing & Refining: 60 minutes
- Publishing & SEO: 15 minutes
That schedule is definitely aggressive, but it's completely doable once the habits lock in. The real leverage comes from getting that pre-writing phase nailed down.
Can AI Really Help Without Sounding Robotic?
Absolutely, but you have to treat it like a co-pilot, not an autopilot. AI is a fantastic tool for smashing through writer's block, brainstorming outlines, or getting some initial paragraphs on the page.
But a raw AI draft almost always lacks the personality, stories, and nuanced perspective that actually connects with a human reader.
Think of AI as the scaffolding for your building. It provides the initial structure quickly and efficiently, but you are the one who has to add the unique architectural details, personal stories, and finishing touches that make it your own.
That final "humanizing" step is what separates great content from generic, forgettable filler. It's where you inject your unique voice, add personal anecdotes, and make sure the post is genuinely valuable to your audience.
If you're using AI to get your drafts done faster, don't let robotic text undermine all your hard work. HumanText.pro transforms AI-generated content into natural, engaging writing that can bypass AI detectors with up to 99% accuracy. Just paste your draft, and we’ll handle the rest. Try it free and see the difference at https://humantext.pro.
Ready to transform your AI-generated content into natural, human-like writing? Humantext.pro instantly refines your text, ensuring it reads naturally and authentically. Try our free AI humanizer today →
Related Articles

Find Another Word for Vast: Elevate Your Writing
Tired of 'vast'? Discover powerful synonyms like immense, expansive, and colossal. Find another word for vast with examples to elevate your writing and

What Is AI Generated Content: Your 2026 Guide
Curious about what is ai generated content? This guide explains its creation, uses, risks, and how to use it ethically while avoiding detection.

Vocabulary Enhancement: A Practical Guide for Writers
Unlock powerful vocabulary enhancement strategies for academic and professional writing. Learn how to build, retain, and use new words authentically.